Embroidery has decorated clothing for centuries, long before anyone pulled a squeegee across a screen. Today the needle is driven by a machine and the design by a digital file, but the core idea is the same: thread stitched into fabric, building a design you can see and feel. Here is what actually matters when you want to embroider clothes, whether it is a dozen caps or a full staff uniform program.
Which fabrics stitch best?
Embroidery likes fabric with some body. Stable, medium-to-heavy materials hold stitches without distorting.
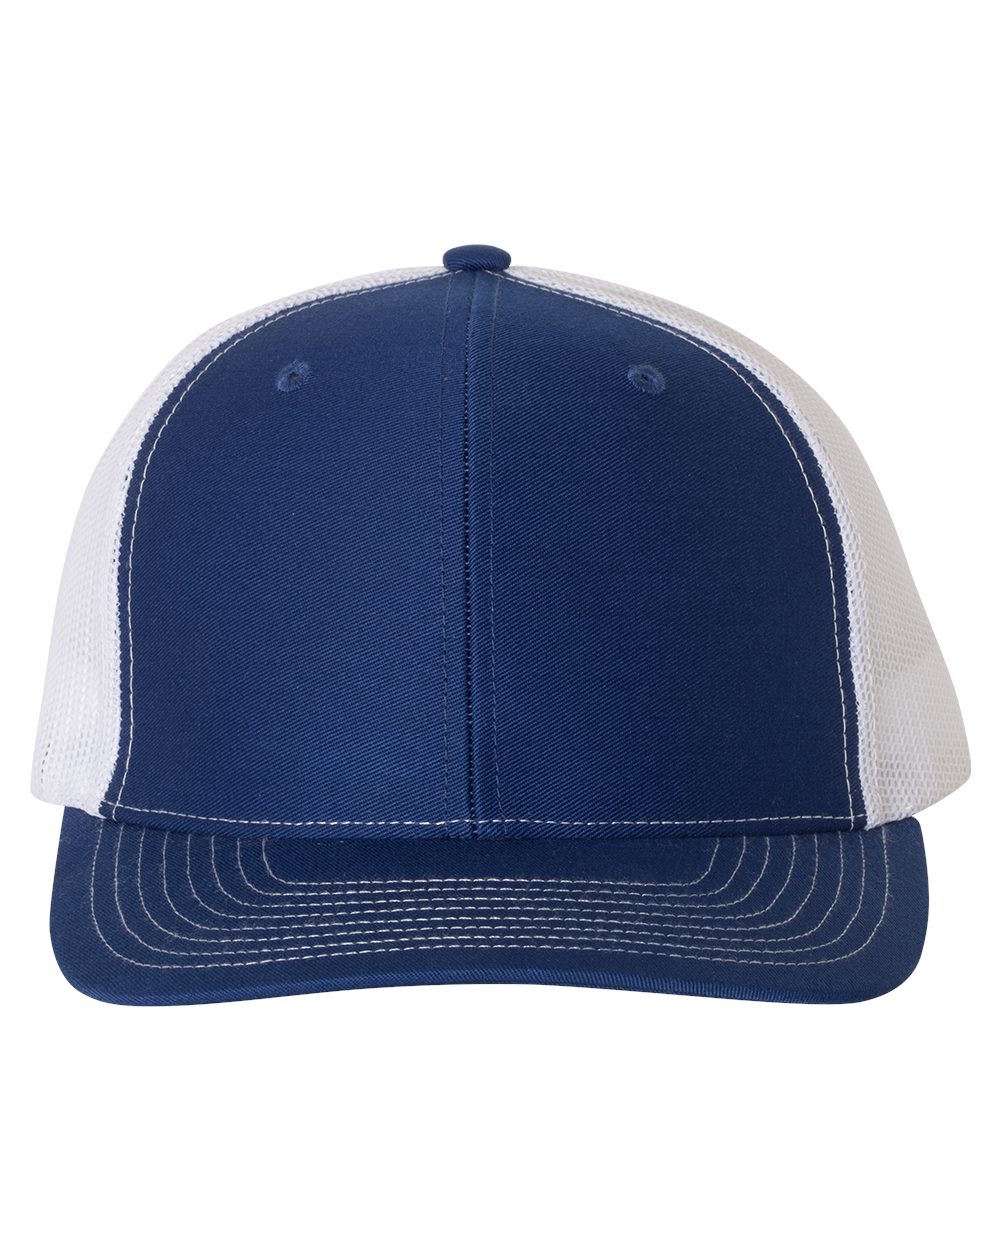
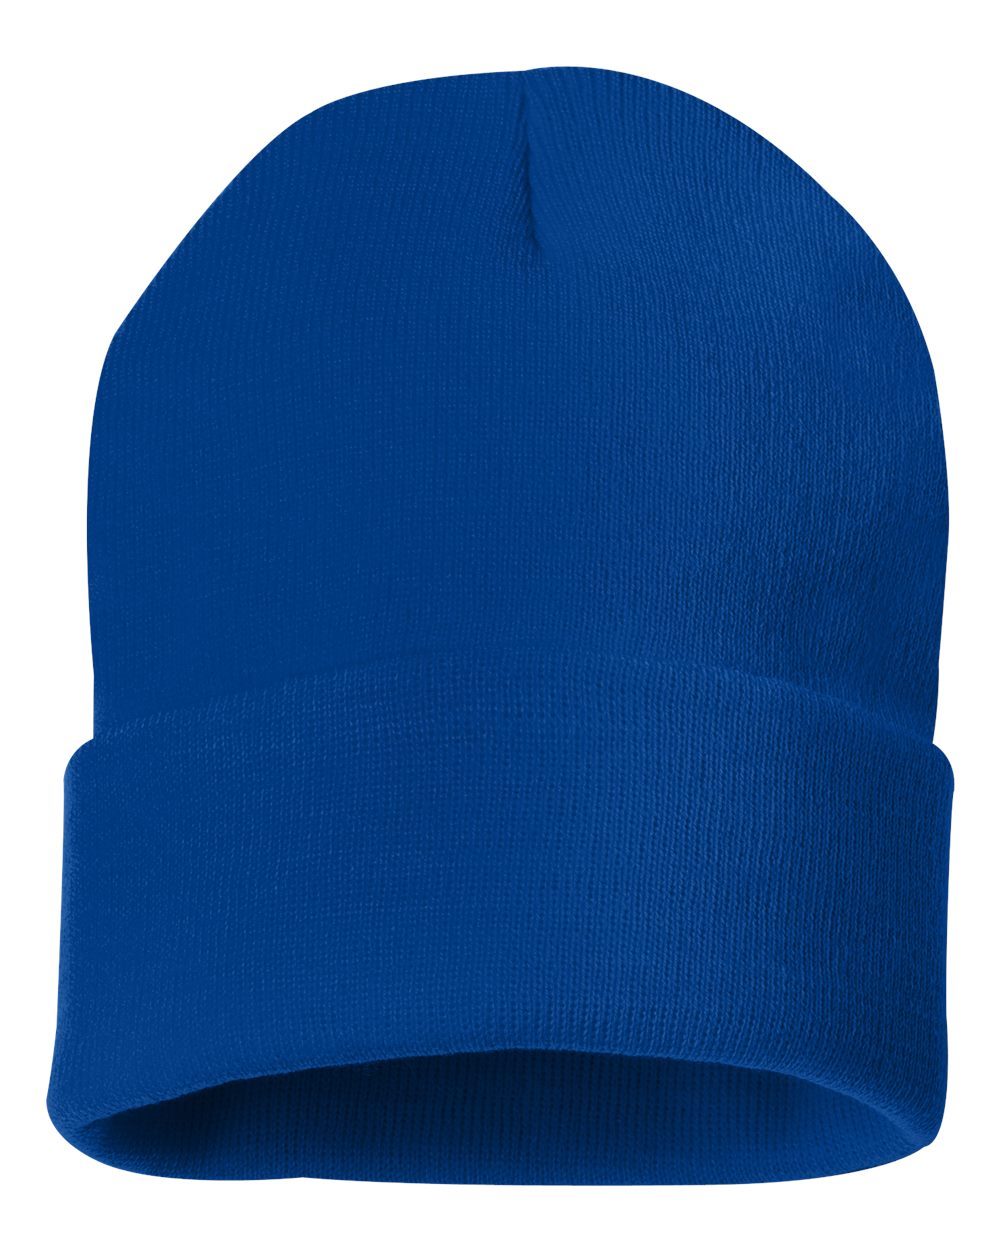
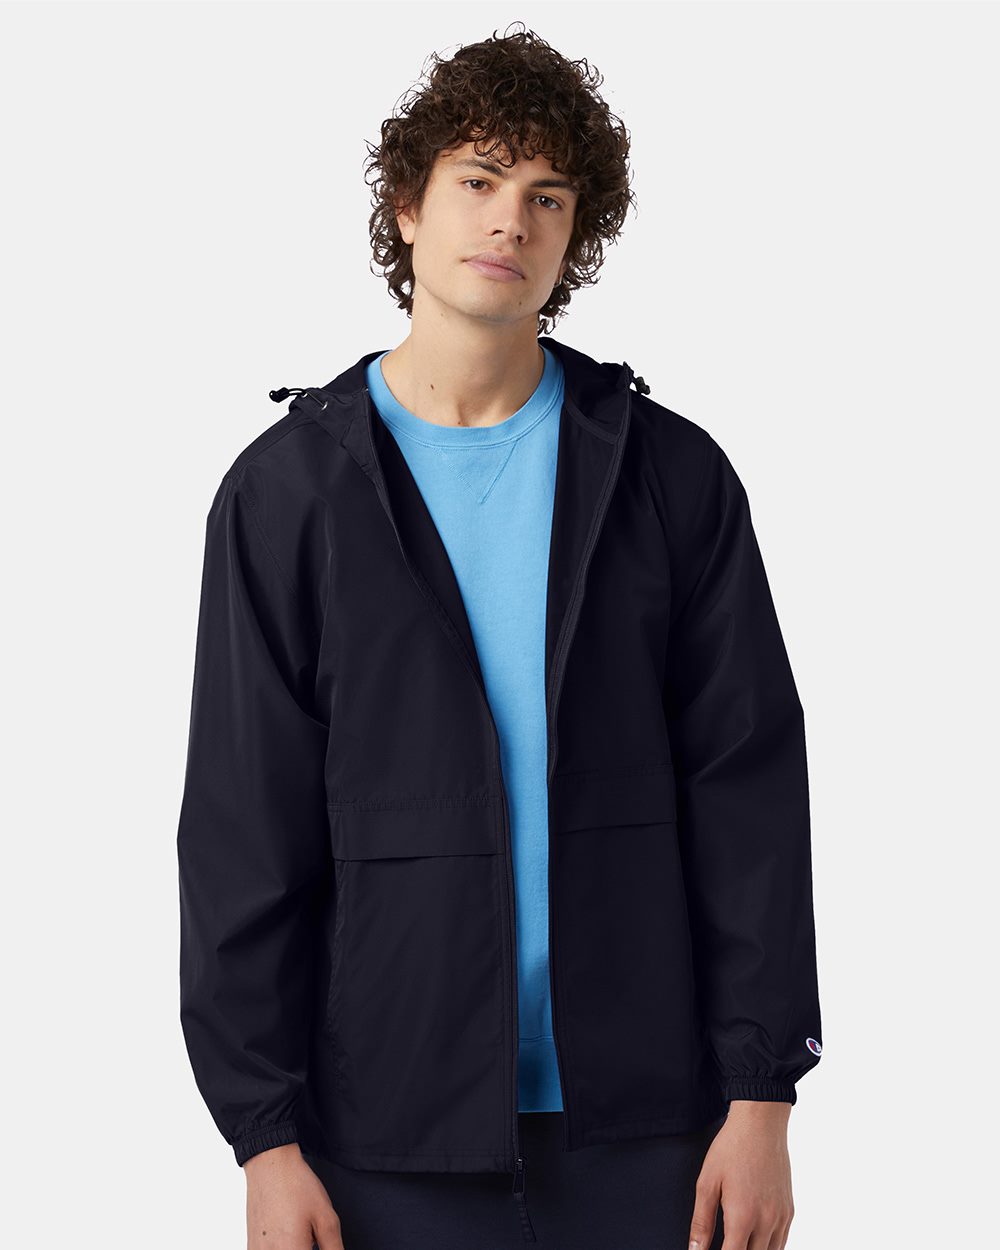
- Cotton twill and canvas. Caps, work shirts, jackets, aprons and totes. The easiest, cleanest surfaces to stitch.
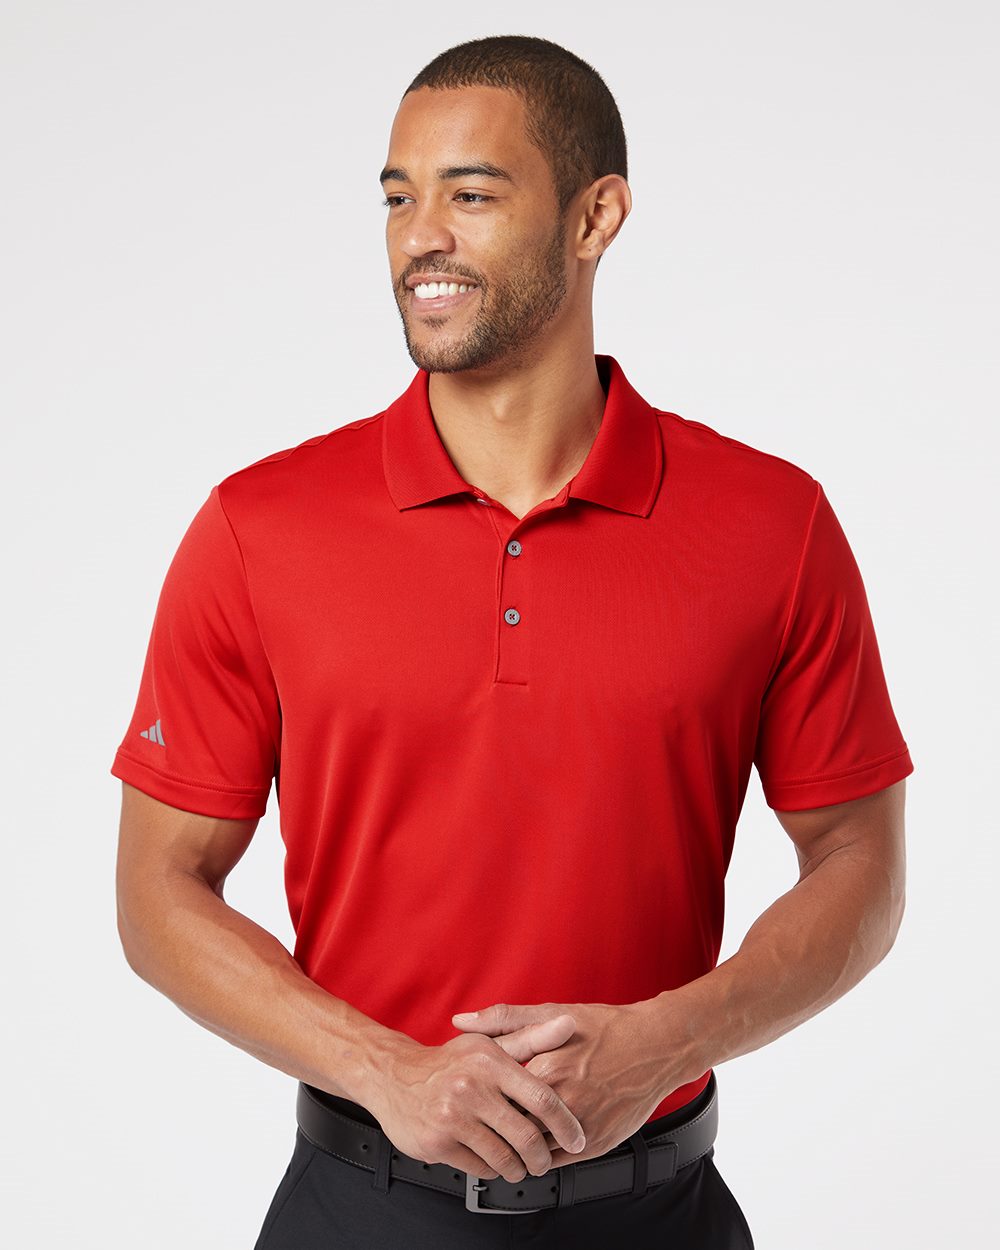
- Piqué cotton and blends. The fabric of most polos. Takes a left-chest logo beautifully.
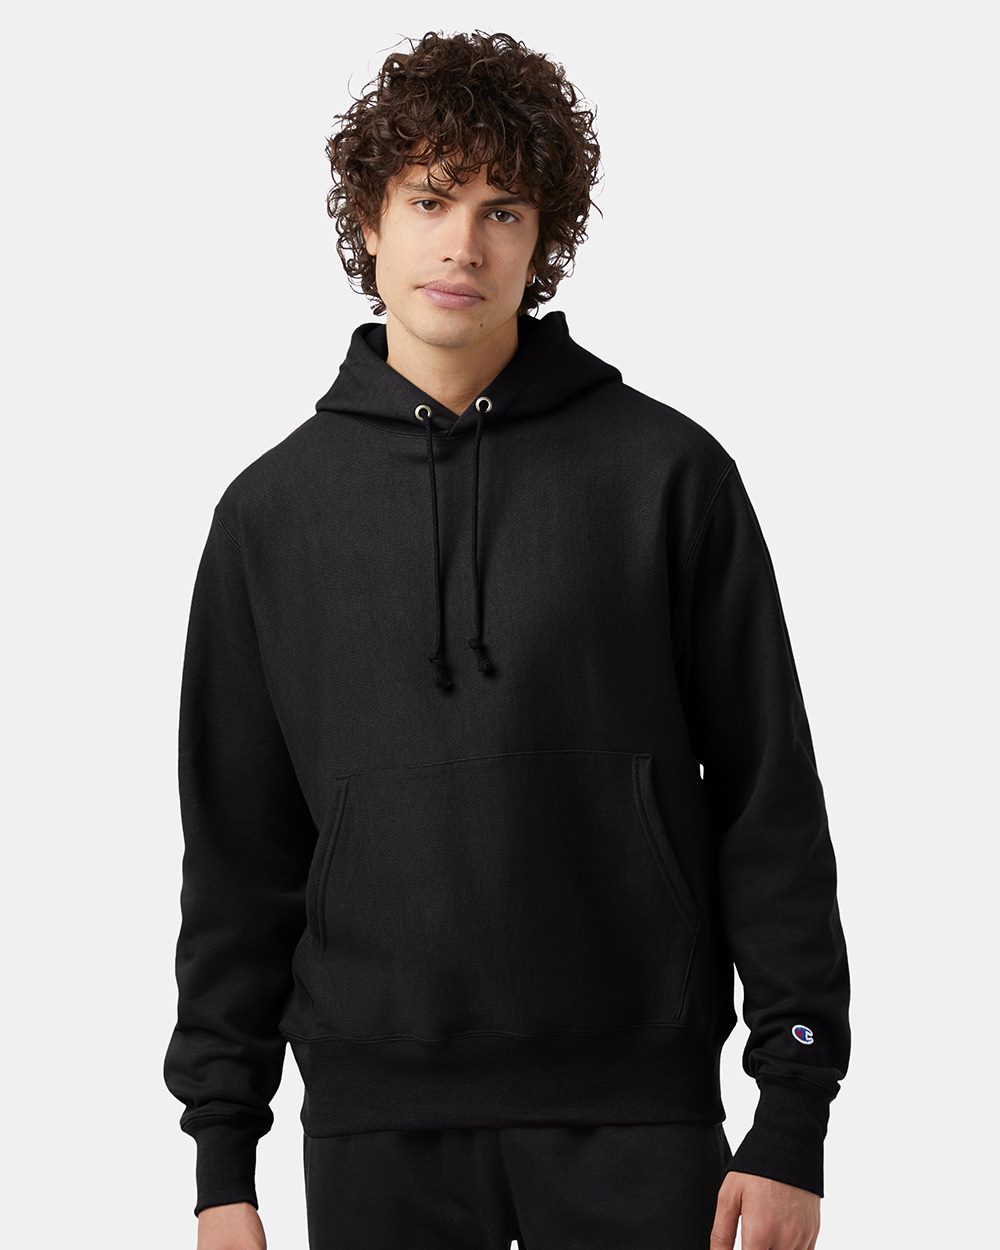
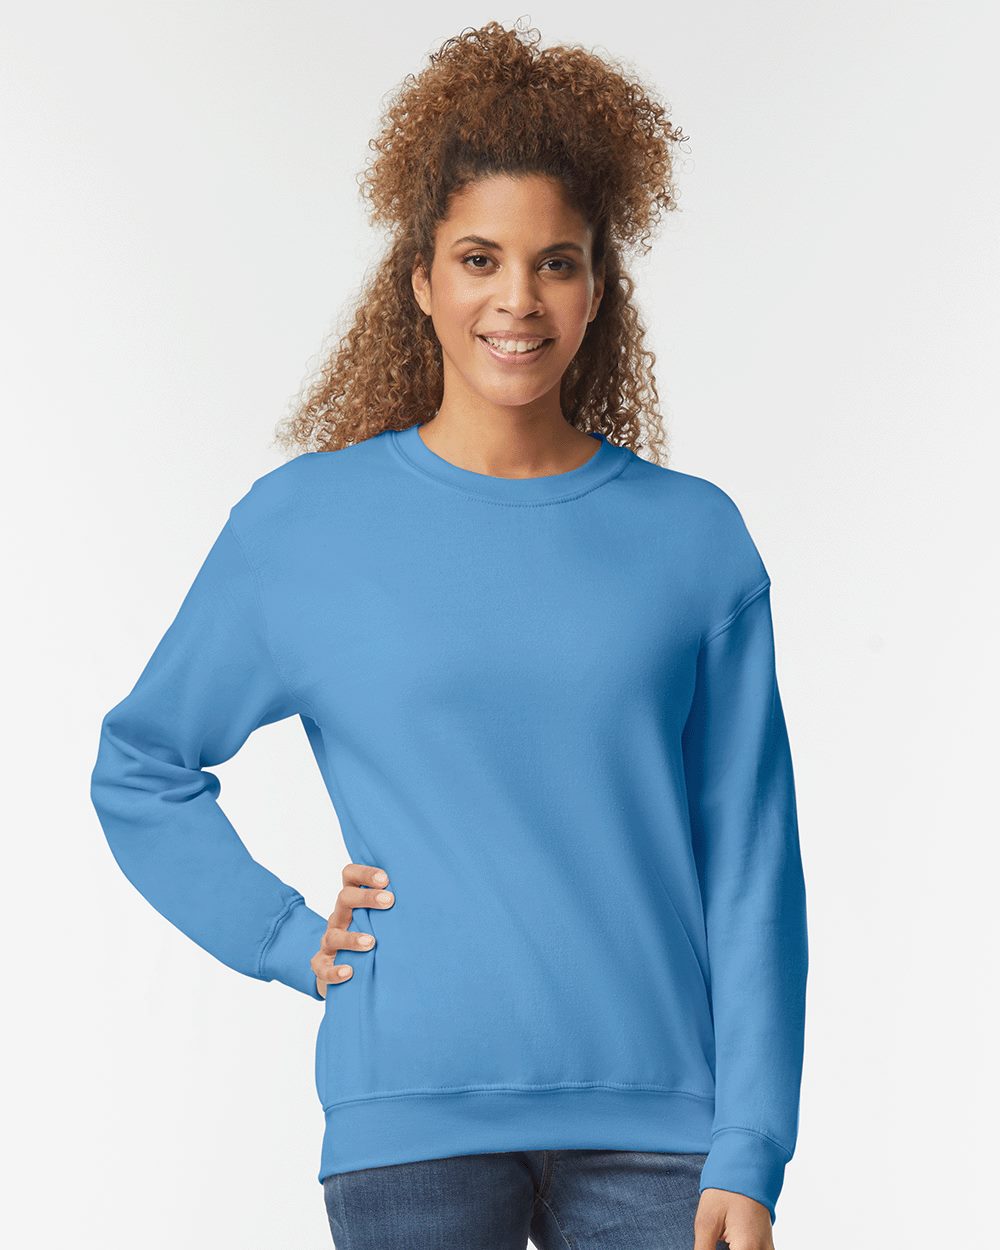
- Fleece and French terry. Hoodies and crewnecks. Thick enough to support dense designs.
- Denim and leather. Both work well with the right needle and setup, and look great with a bold logo.
- Linen and lightweight cotton. Possible, but they need careful stabilizing and lighter designs.
- Knits and performance fabric. Stretchy materials can pucker. Stabilizer and a lighter stitch density keep them flat.
Very thin, sheer or slippery fabrics are the hardest. If your garment is delicate, a print method like DTG or DTF may be the better route.
How does machine embroidery work?
Step 1: Digitizing
Your logo starts as an image. A digitizer converts it into a stitch file, a set of instructions telling the machine where every stitch goes, which direction it runs, what type of stitch to use and in what order the colors are sewn. Good digitizing is the difference between a crisp logo and a lumpy one. At TBSP, digitizing is free on 24 or more pieces and on reorders, and $45 per logo on smaller orders.
Step 2: Hooping
The garment is clamped into a hoop with a stabilizer behind it. The hoop holds the fabric taut so nothing shifts while the needle moves. Caps use a special curved frame.
Step 3: Stitching
The machine stitches one color at a time. It lays down the first color’s elements, trims, switches to the next thread and builds the design layer by layer. On a multi-head machine, several garments are stitched at once with the same file, which keeps every piece in the order consistent.
Step 4: Finishing
The garment comes out of the hoop, excess stabilizer is trimmed or torn away, loose threads are clipped and the piece gets a final check.
Prepping artwork for embroidery
Thread is thicker than ink, so artwork has to be built for it.
- Go bold. Clean shapes and solid fills stitch best. Fine hairlines can disappear.
- Watch small text. Tiny lettering blurs into thread. Keep text large enough to read at arm’s length.
- Limit colors. Each thread color is a change on the machine. A tight palette looks sharper and keeps the design clean.
- Skip gradients. Thread cannot blend like ink. Gradients get simplified into steps.
- Send a clean file. Vector art is ideal. A high-resolution image works too.
Every TBSP order gets a free art check, so we will flag anything that will not stitch cleanly before production starts.
Placement guide
Where you put the design matters as much as the design.
- Left chest: the standard for polos, button-ups and jackets.
- Cap front: centered, often in 3D puff for extra lift.
- Sleeve: a secondary mark, flag or website.
- Back yoke: just below the collar, subtle and smart.
- Full back: big statements on jackets, usually with appliqué or patches to keep stitch counts reasonable.
Which embroidery style should you use?
Flat embroidery covers most needs. 3D puff gives caps that raised, sculpted look. Appliqué and chenille handle large, textured designs. Patches go on items that are hard to stitch directly. Monograms personalize gifts and staff pieces. See all six side by side on custom embroidery styles.
Embroidery vs. printing
Choose embroidery for small logos, a premium feel and garments that face hard wear, like uniforms and hats. Choose screen printing for large graphics and bulk tees. Many brands do both. For more on outfitting staff, read embroidery for uniforms.
Ready to stitch?
TBSP embroiders in Los Angeles with a 6-piece minimum per design. Send your logo, garment and quantity through the quick quote form and we will reply within one business day.