

Your bag, your way
Customizing a bag comes down to four decisions: which bag, which method, which side and which design. Here is how to work through each one so your bags come out exactly how you pictured them.
Step 1: Choose the bag
You have two routes.
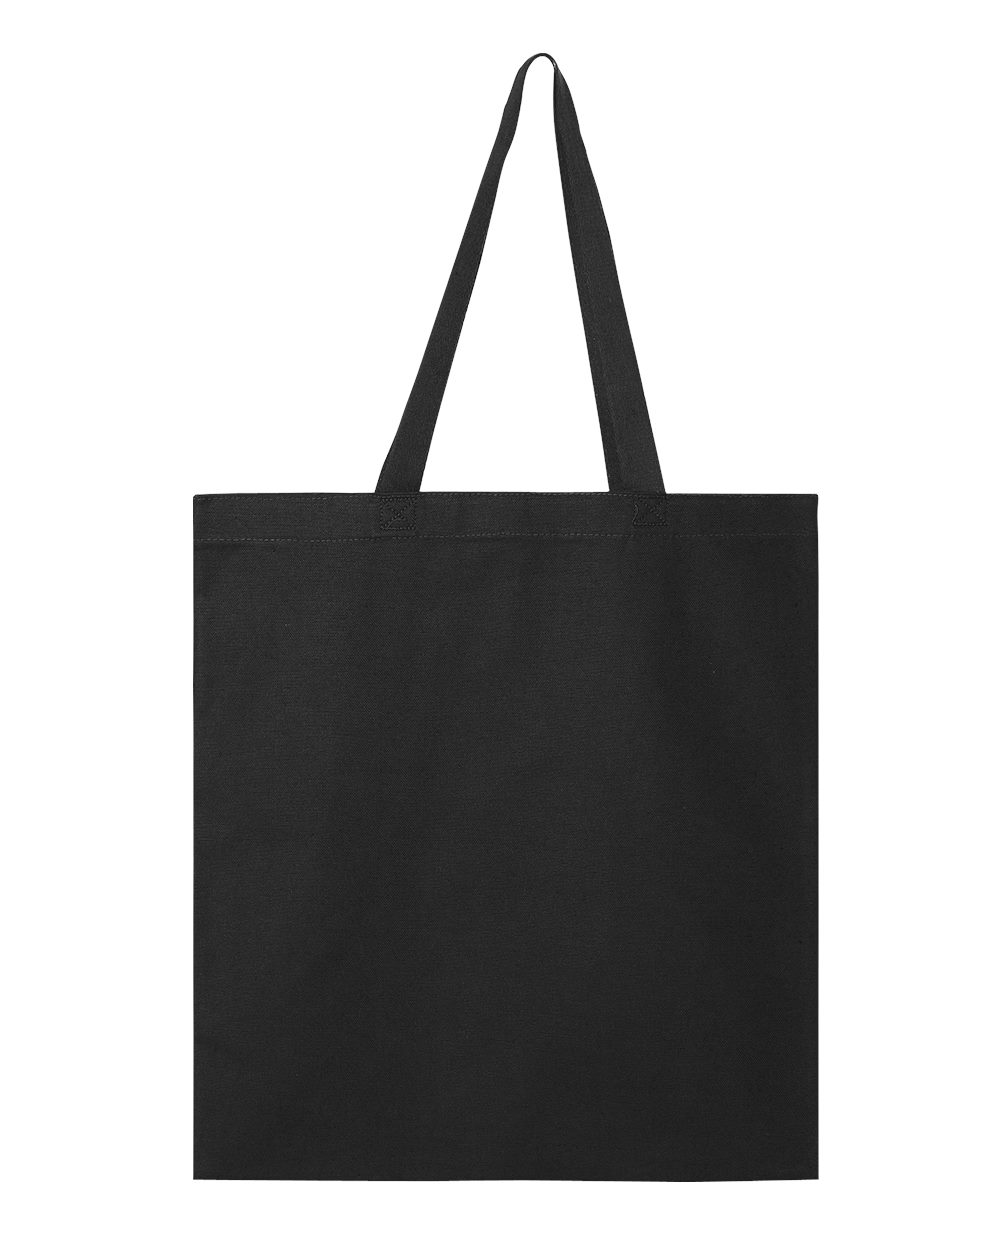
Use ours. We offer bags in a range of materials and colors, from light, durable totes to sturdier styles. Browse the catalog or ask us for a pick based on your budget and use.
Bring your own. Already have bags you love, or need to match a specific style? Supply them and we will decorate them. Just tell us the fabric up front so we can choose the right method.
Step 2: Choose print or stitch
Screen printing lays down bold, solid ink on canvas and cotton. It handles big graphics and starts at 12 pieces.
Embroidery stitches your logo into the bag for a raised, premium finish. It suits smaller marks and sturdier fabrics.
Step 3: One side or both?
A design on one side keeps cost down. Adding the back doubles the visibility: a logo on the front, a website or tagline on the back. Each side is quoted as its own print.
Step 4: Make the design work
Customers notice bright colors and creative designs, but a simple, clean logo is just as on-trend. Whichever way you go:
- Make sure text is big enough to read at arm’s length
- Pick ink colors that contrast with the bag
- Keep stitched designs bold and uncluttered
- Send vector artwork or a high-resolution image
Every order gets a free art check before production, so small issues are fixed before they are printed fifty times.
Why do bags make such good marketing?
A custom bag is cheap per impression. People reuse it for groceries, gym clothes, takeout and small items, carrying your brand through the city long after the event is over. Once someone notices a great bag, they remember it.
For bag styles and use cases, see our custom bags overview. Building a bigger merch package? Pair bags with T-shirts and hats.
Start customizing
Send your design, the bag (yours or ours) and your quantity. Get a quick quote.


